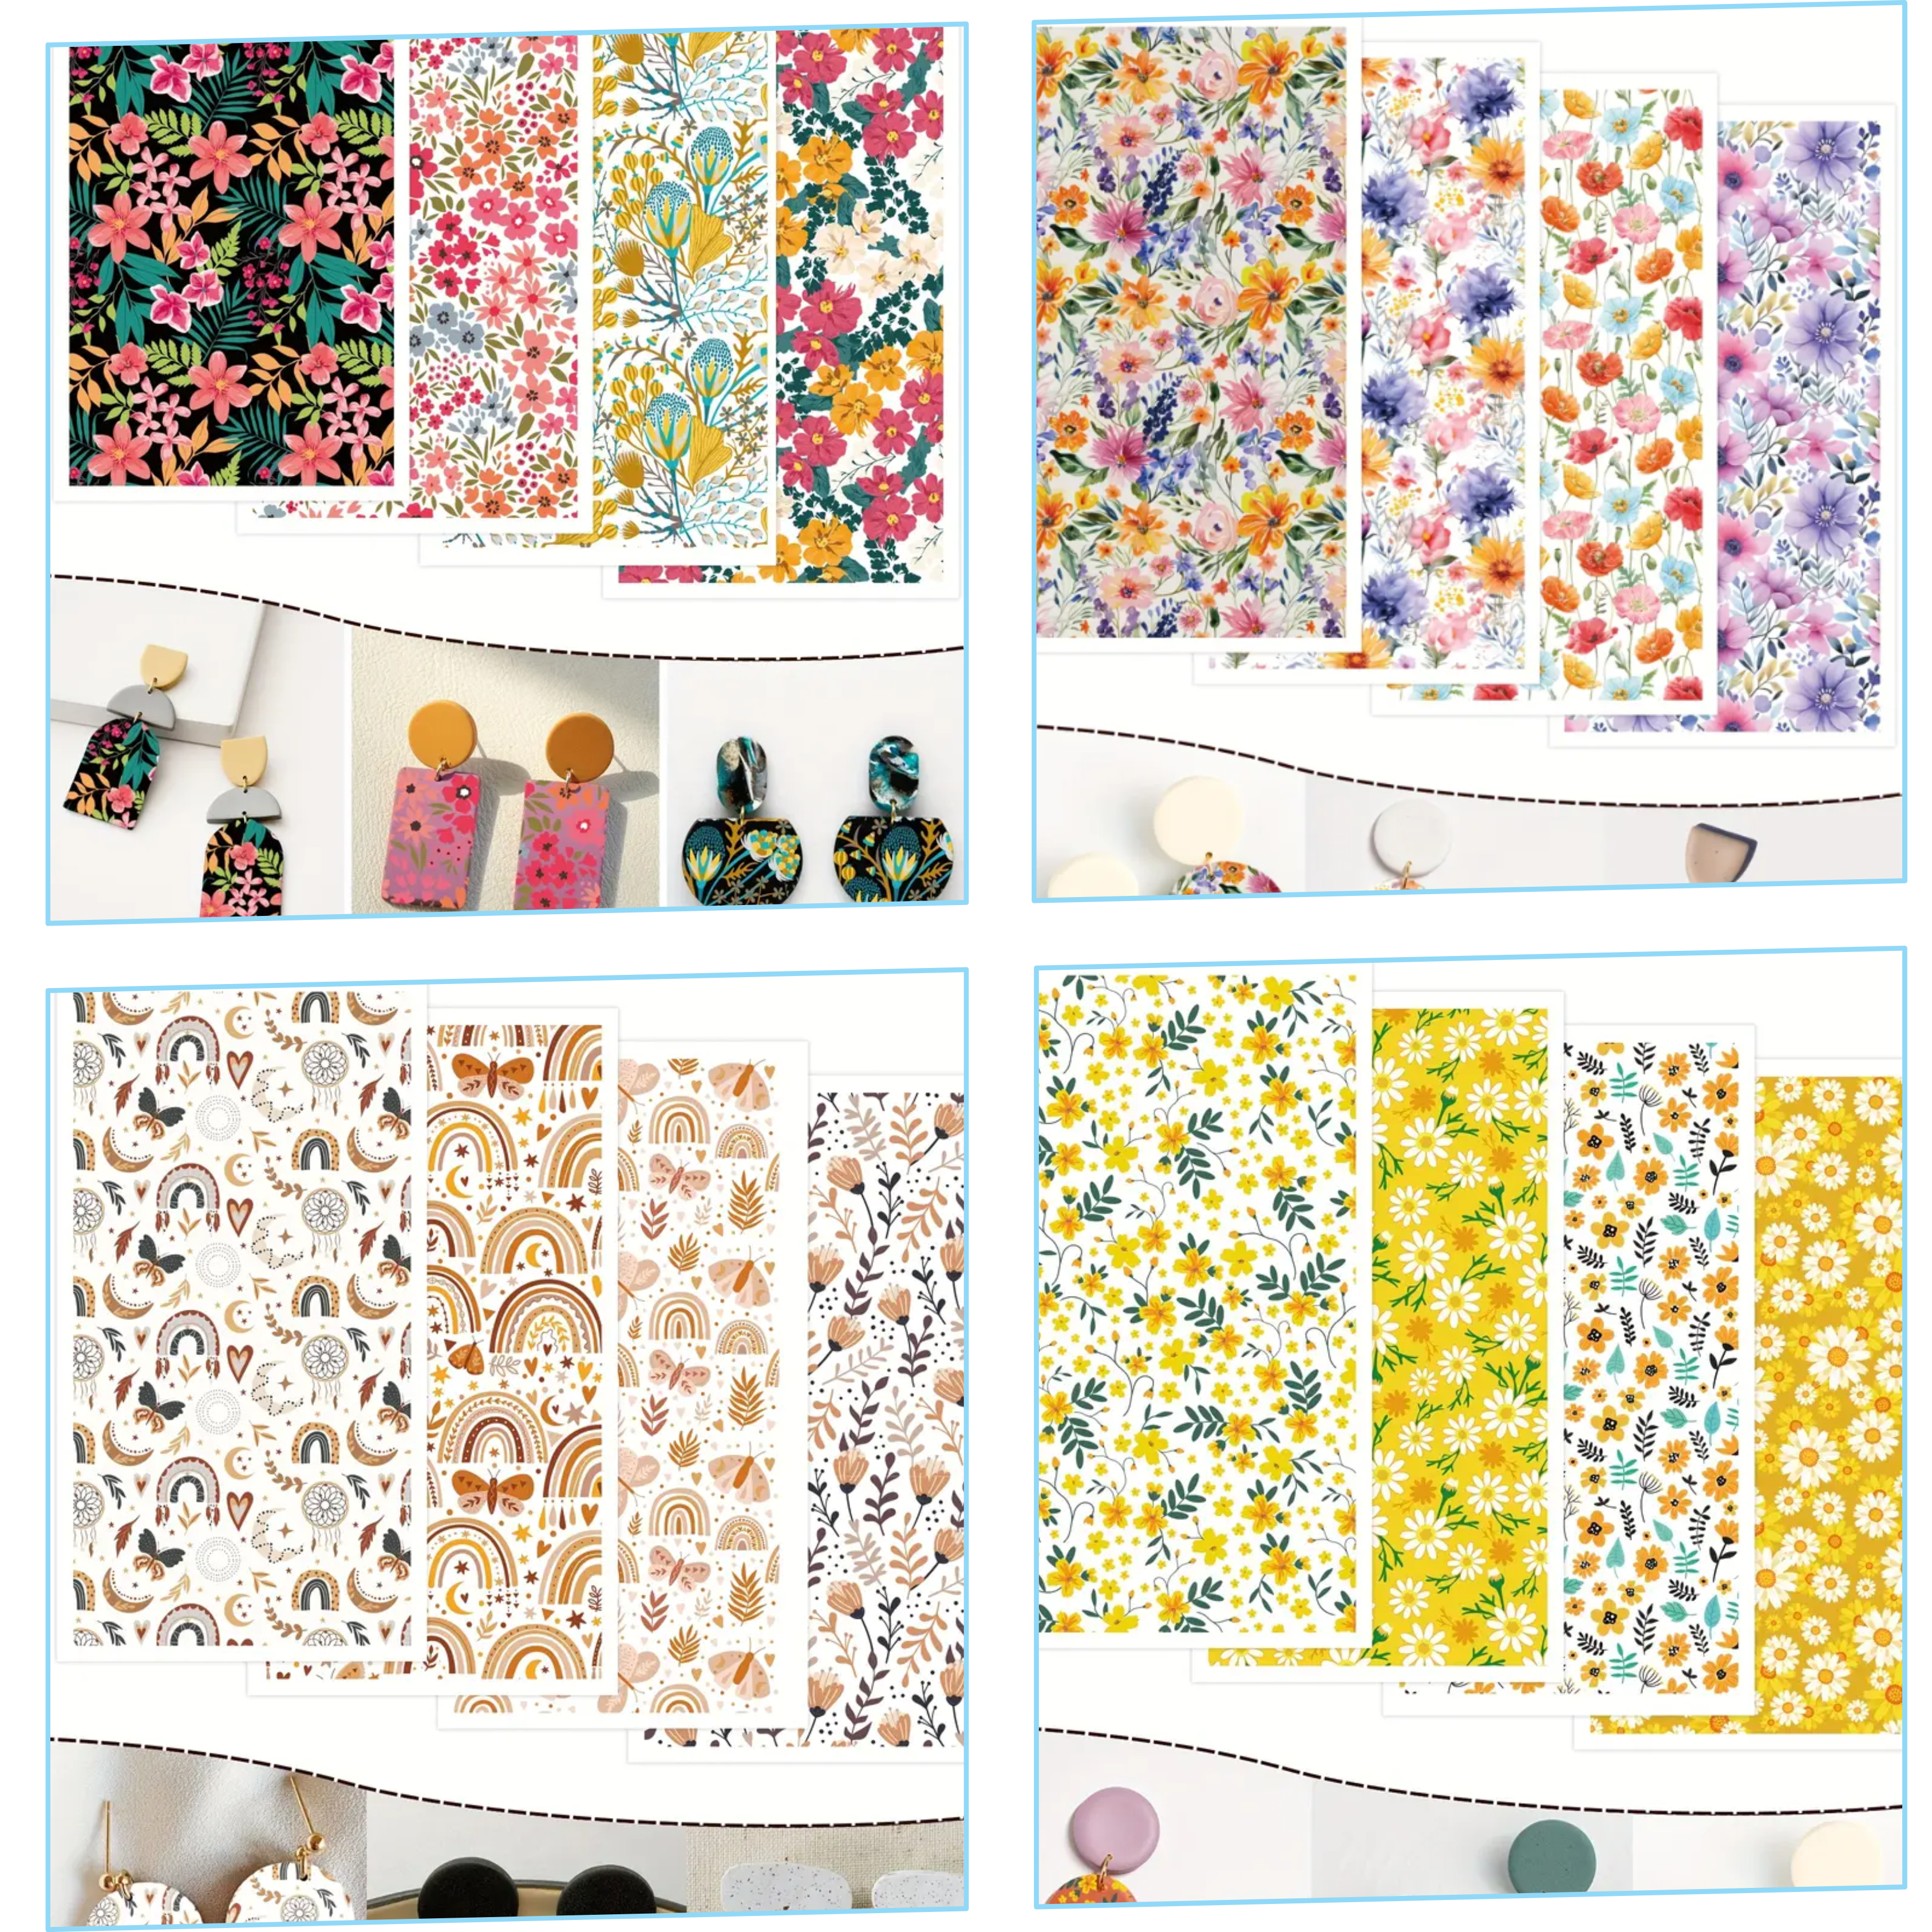
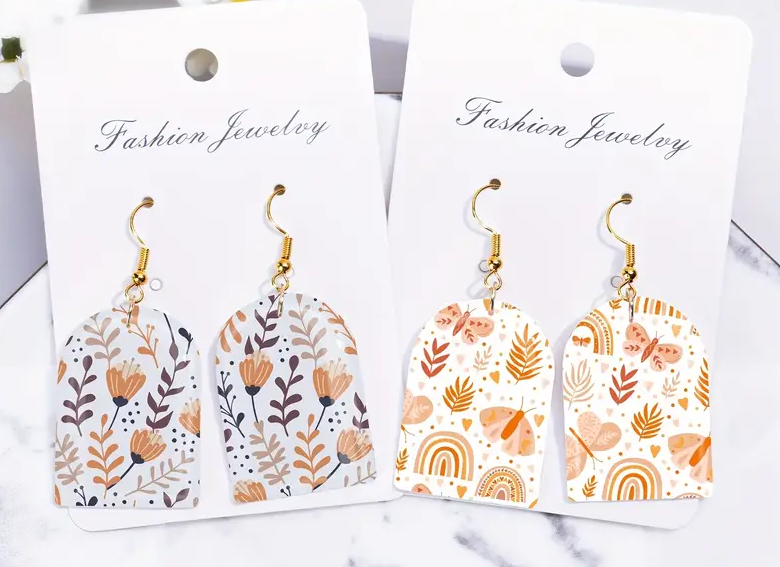
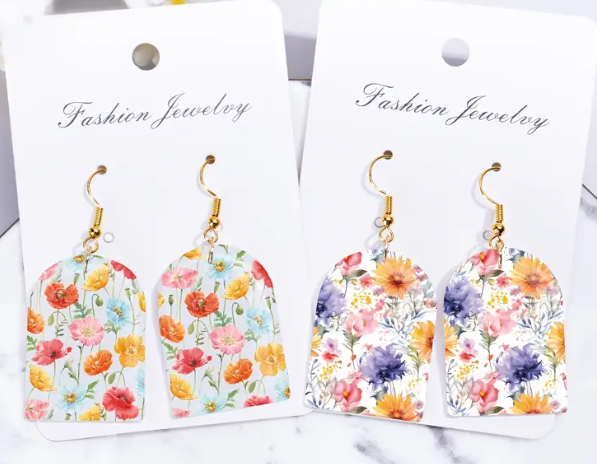
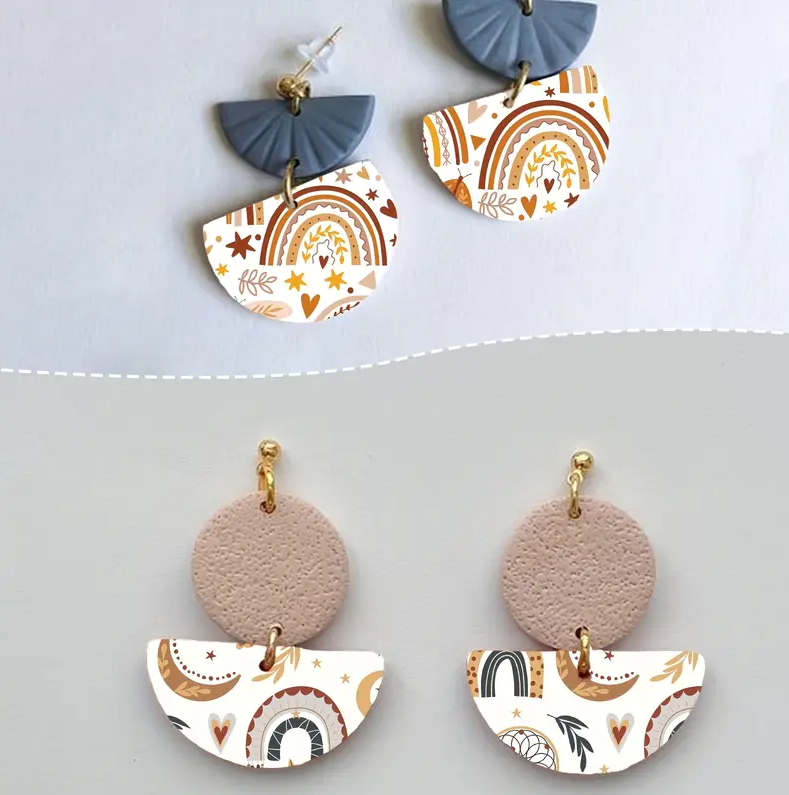
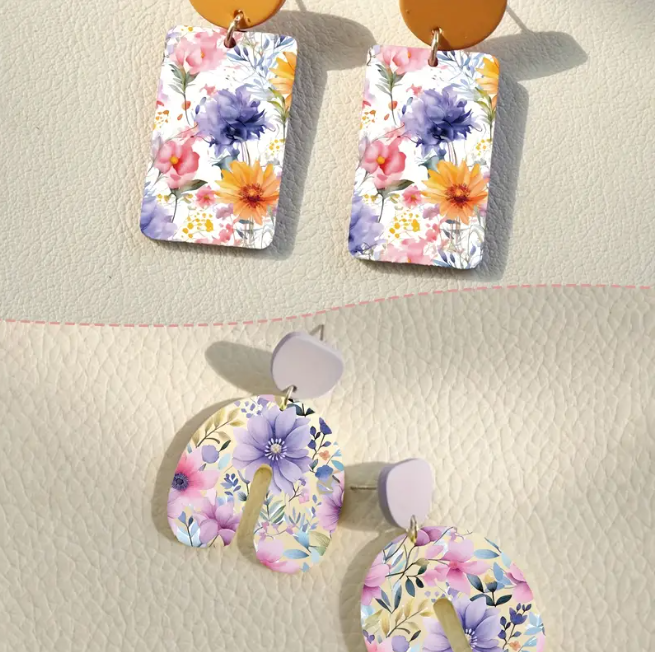
Transfer Sheets – Water Soluble Polymer Clay Decals for Jewelry Making, Self-Adhesive & Single-Use, 16 Individual Unique Designs
R16.00
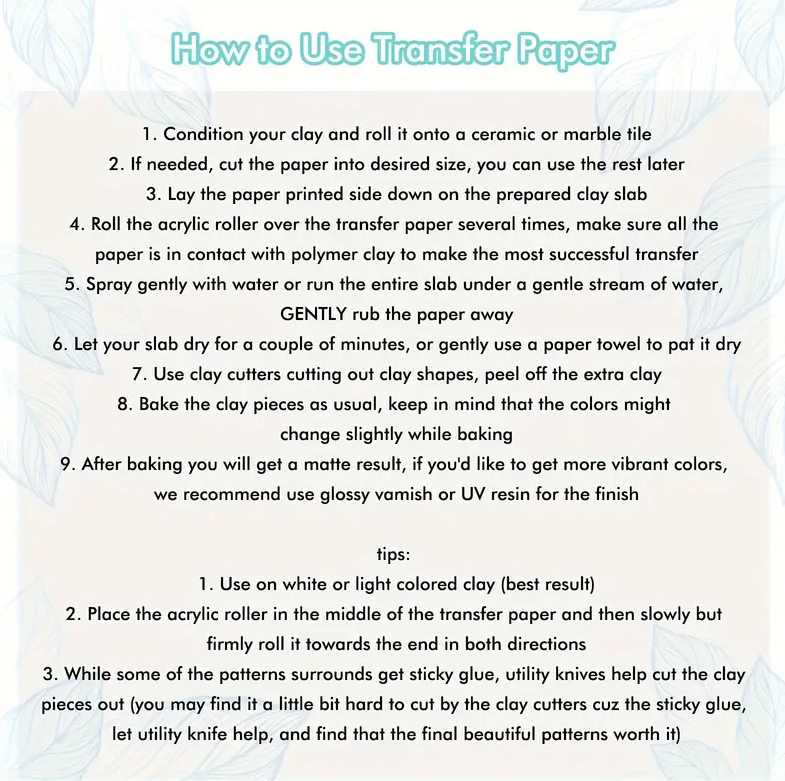
How to Use Transfer paper:
1: Condition your clay and roll it onto a ceramic or marble tile.
2: If needed, cut the paper into desired size, you can use the rest later.
3: Lay the paper printed side down on the prepared clay slab.
4: Roll the acrylic roller over the transfer paper several times, make sure all the paper is in contact with polymer clay to make the most successful transfer.
5: Spray gently with water or run the entire slab under a gentle stream of water, GENTLY rub the paper away.
6: Let your slab dry for a couple of minutes, or gently use a paper towel to pat it dry.
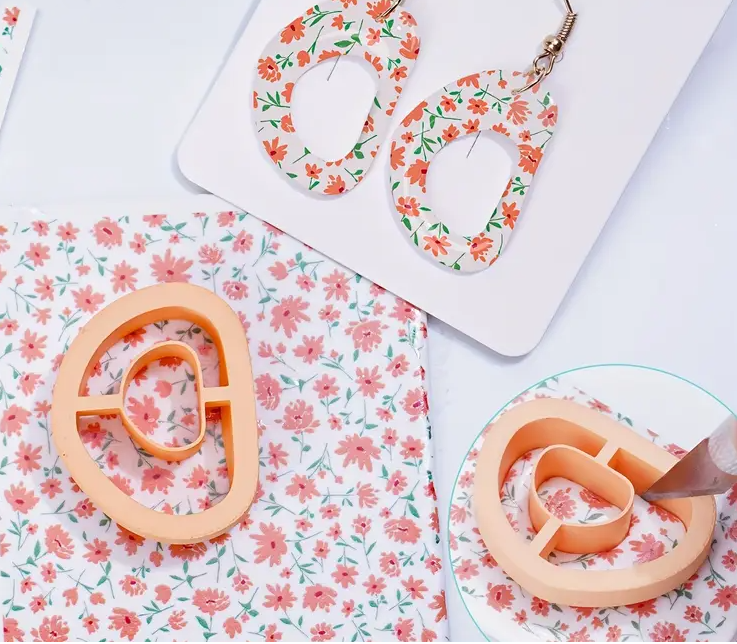
7: Use clay cutter cutting out clay shapes, peel off the extra clay.
8: Bake the clay pieces as usual, keep in mind that the colors might change slightly while baking.
9: After baking you will get a matt result, if you’d like to get more vibrant colors, we recommend use glossy varnish or UV resin for the finish.
Tips:
1: Use on white or light-colored clay (give best result)
2: Place the acrylic roller in the middle of the transfer paper and then slowly but firmly roll it towards the end in both directions.
3: While some of the patterns surrounds get sticky glue, utility knives help cut the clay pieces out.
| Other Style | Boho Flower #16, Boho Moth Arch #13, Boho Moth Arch #14, Boho Moth Arch #15, Floral Flower #1, Floral Flower #2, Floral Flower #3, Floral Flower #4, Watercolor Floral Flower #5, Watercolor Floral Flower #6, Watercolor Floral Flower #7, Watercolor Floral Flower #8, Yellow mini-Flower #10, Yellow mini-Flower #11, Yellow mini-Flower #12, Yellow mini-Flower #9 |
|---|
Related products
-
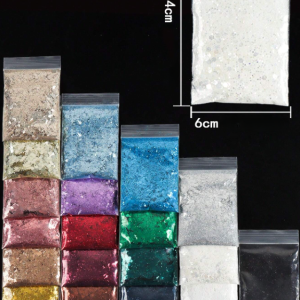 Fine & Chunky Glitter
Colorful Hexagon Chunky Glitter – 10g Individuals
R25.00 Select options This product has multiple variants. The options may be chosen on the product page -

-
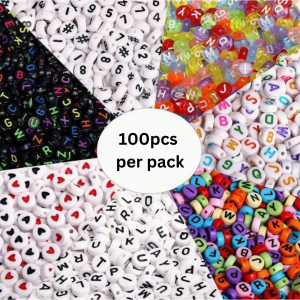 Beads
BeadsMixed Acrylic Alphabet Beads, Acrylic Letter Beads 100PCS per Pack – Individuals
R29.00 Select options This product has multiple variants. The options may be chosen on the product page -
 Bead Caps & Bail
Stainless Steel Pinch Clip Bail Clasps Pendant Findings Connector Findings 16mm – Individuals
R39.00 Select options This product has multiple variants. The options may be chosen on the product page